What Is Underground Moling?
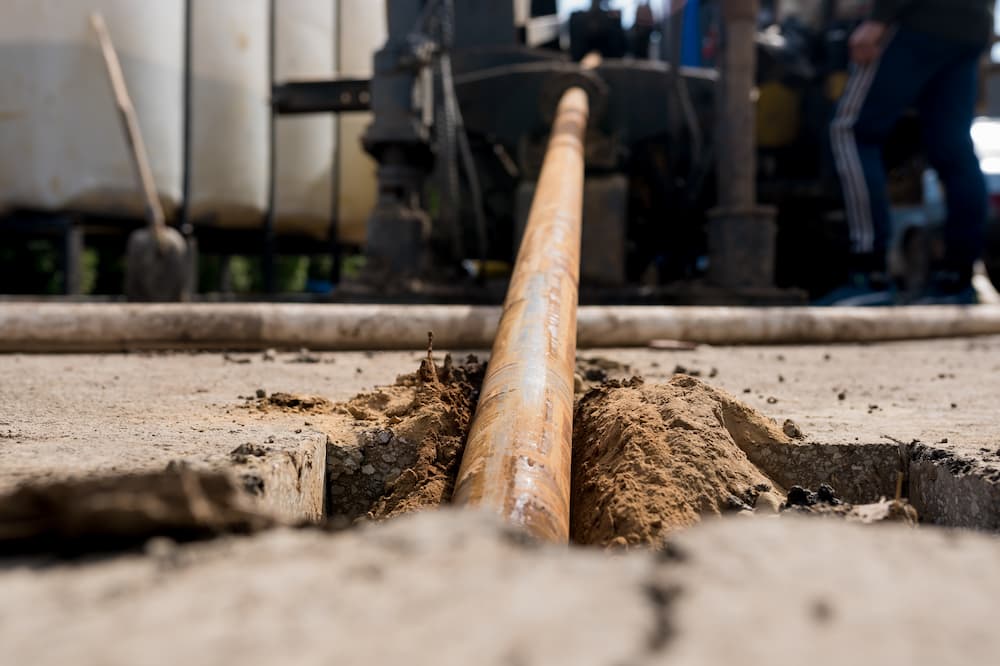
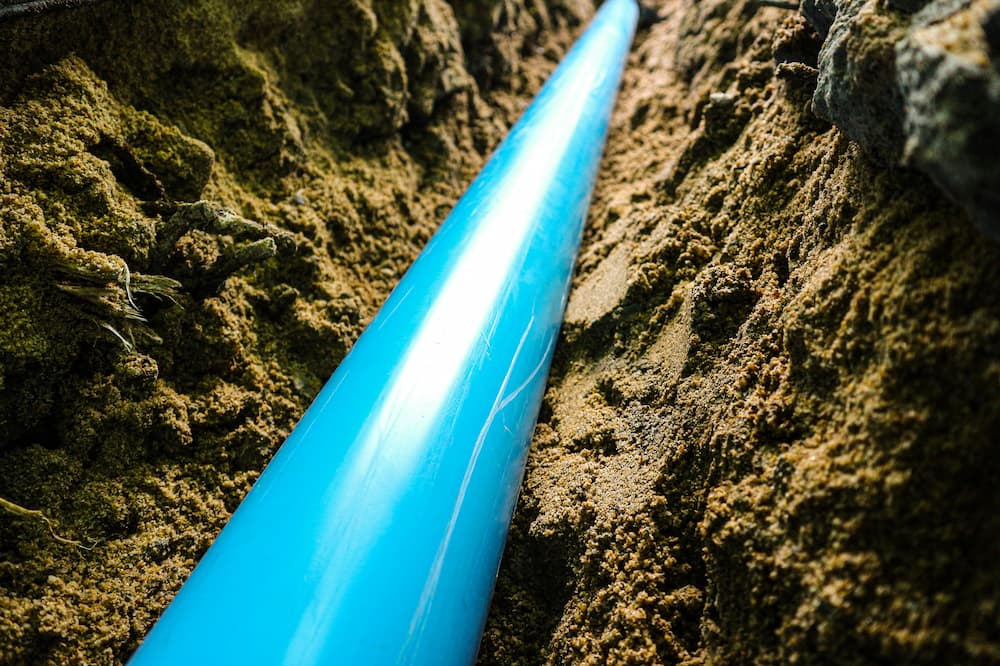
As the name implies, Underground Moling is a way you can lay pipes underground without having to dig a trench. The trenchless technology follows a simple horizontal directional drilling principle. The principle requires you to pass pipes or cables through the ground using a pneumatic hammering tool. The cables are usually not more than 26cm in diameter and 60m in length.
Underground moling is common for service lines where there are constructions at the surface level that you do not want to disturb such as walkways, buildings, roads, driveways. Also, it is more environmentally friendly as it causes less disturbance to the environment and soil structure. Underground moling is
also known as Impact Moling. It follows a basic process of displacing soil in its way as the hammerhead travels the ground. To aid travel, the mole tool has a compressor that powers the steel tube connected to a piston in its hammerhead. The piston is connected to the hammerhead.
There are usually two kinds of mole tools:
one that can be steered and another that cannot. Regardless of the mole type you choose, the length of mole tools helps to aid easy moling.
What is the Installation Process?
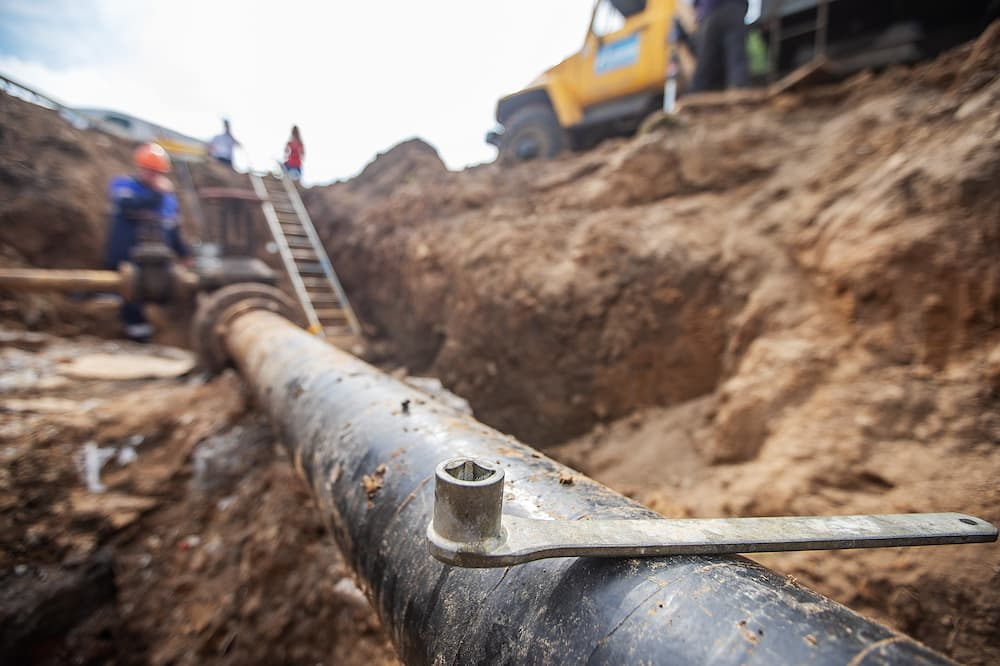
The first thing before getting your mole tool ready is to ensure that all protective gears are worn correctly. With the mole tool, dig a pit at the launch and termination point. The depth of the pits should be about ten times the diameter of your mole tool. If you are using a mole tool after a long time, ensure you oil it to allow easy movement in the soil and remove all debris.
Once the above is done,
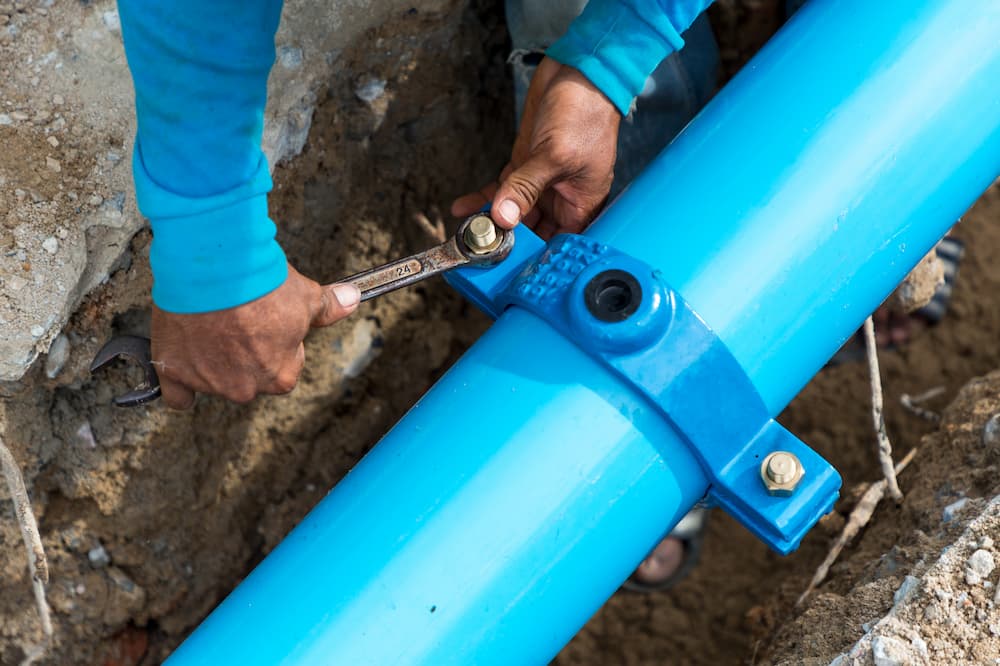
stretch your air hose or steel tube to avoid kinking during installation and connect to the mole tool. To clear your steel tube of all debris, put on the oil compressor and open the oil valve partly for compressed air to rush in to blow the debris. Hold the tube away from yourself when doing this as a precautionary measure.
Go ahead to connect your steel tube/air hose to the mole head and get ready to shoot into the ground. Before this, calculate the length of the bore length you want and measure the distance from the mole head to the steel tube. Mark several portions on the tube with a tape to monitor travel once you start to bore; this can be about 5 to 10 intervals.
Get your launch cradle ready to shoot the mole into the ground. However,
ensure your oil compressor has enough oil and there is enough space for air. Never fill it to the brim with oil. You can now go ahead to lay your clamp your mole head to the launch cradle at the launch pit.
Use an aiming tool to identify your expected exit point and stake a pole at the termination pit to mark it. Put a tape on the pole to aid you to track if the mole is still on track once the bore begins.
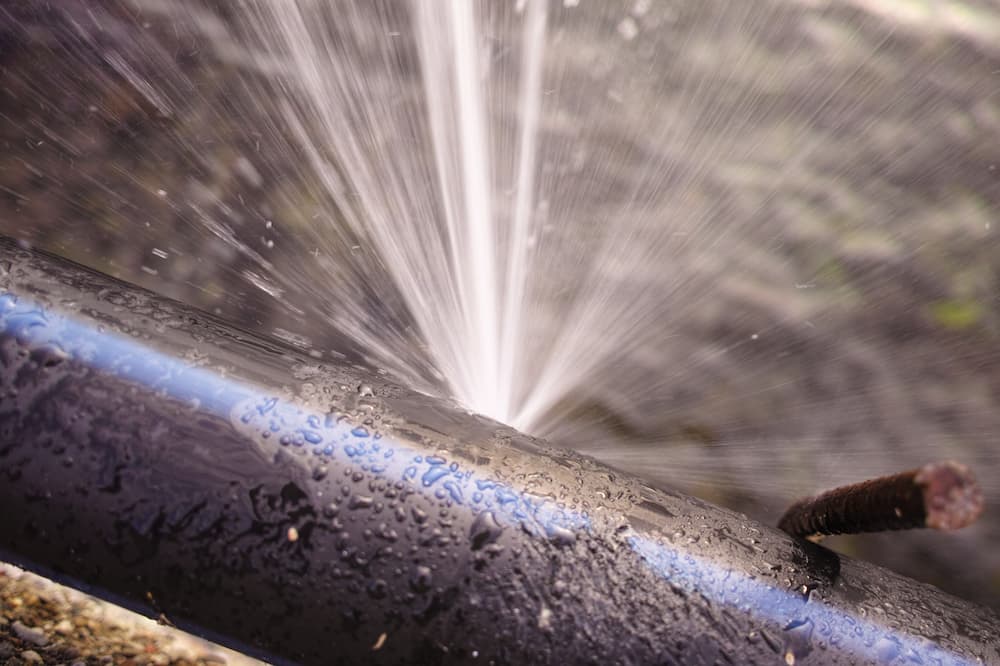
The mole tool progresses slightly upwards as it moves in the soil, hence, you should tilt the launch cradle backwards a little. This is due to different ground conditions; then power on the oil compressor and launch the mole tool. The mole displaces the soil in its path thereby creating the hole. Pipes can be pulled through the hole as the bore is being made or after it is done.
If the mole tool is the steerable type, it requires two people for operation. One person stays in the launch pit and ensures the mole tool is going in the right direction. And the other person walks on the bore path to track the position of the tool with a locator device. If the tool is the non-steerable type, one person will do as it is carefully aligned at the launch pit to ensure it travels in a straight line. And that marks the end of your underground moling.
Applications of Underground Moling
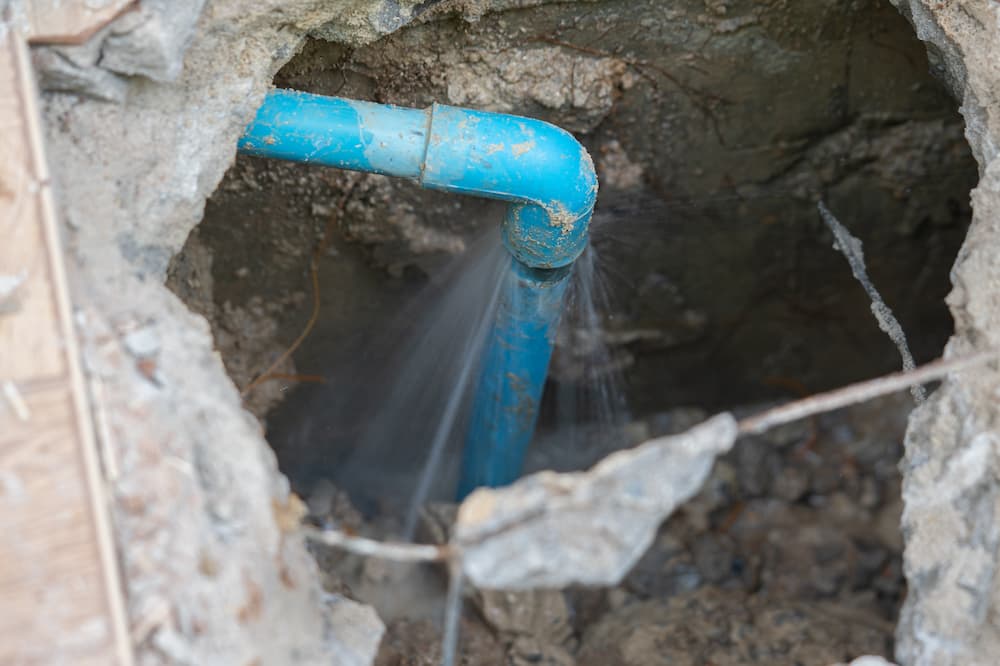
Underground Moling is best in soils that are soft and cohesive or compressive. It is used to install water pipes, gas pipelines, irrigation systems, cable ducts, landscape lighting, and so on. The pipes that are best suited for moling are either made from steel, polyvinyl chloride (PVC), or High-Density Polyethylene (HDPE).